Help Center Archives - All Cloud Hub

Help Center

How to Add and Manage Multiple Cloud Accounts in All Cloud Hub

Learn how to add, organize, search, and manage multiple cloud accounts in All Cloud Hub from one dashboard.
How to Connect iCloud Drive to All Cloud Hub

Connect iCloud Drive to All Cloud Hub and manage, search, and organize all your cloud files in one dashboard.
How to Connect iCloud Photos to All Cloud Hub

Learn how to connect iCloud Photos to All Cloud Hub for secure access and seamless cloud photo management.
How to Connect Google Shared Drive to All Cloud Hub

Connect Google Shared Drive to All Cloud Hub using your Google Workspace account in a few simple steps.
Managing your Backblaze B2 storage becomes much easier when it is connected to All Cloud Hub. Instead of switching between multiple cloud storage platforms, you can access, organize, search, and transfer files from a single dashboard. Unlike services such as Google Drive or Dropbox that use OAuth authentication, Backblaze B2 connects using an **Application Key** and **Key ID**. Before you can connect your account to All Cloud Hub, you'll need to create a bucket and generate an application key in your Backblaze B2 account. This guide walks you through the complete process, from setting up your Backblaze B2 storage to connecting it with All Cloud Hub. ## Before You Begin Before connecting Backblaze B2 to All Cloud Hub, make sure you have: - A Backblaze B2 account - At least one bucket created - An Application Key with appropriate permissions - The corresponding Key ID and Application Key copied and stored safely > **Important:** The **Application Key is displayed only once** when it is created. If you lose it, you'll need to generate a new one. > ## Create a Backblaze B2 Account If you don't already have a Backblaze account, create one by signing up on the Backblaze website. After signing in, you'll be taken to the **B2 Cloud Storage** dashboard where you can manage your buckets, files, and application keys. ## Create a Bucket in Backblaze B2 A **bucket** is the primary storage container in Backblaze B2. Every file you upload is stored inside a bucket. To create a bucket: 1. Sign in to your Backblaze B2 account. 2. From the left navigation menu, select **Buckets**. 3. Click **Create a Bucket**. You'll be asked to configure the following settings: ### Bucket Unique Name Enter a globally unique bucket name. For example: - company-documents - project-backups - marketing-assets Bucket names must be unique across all Backblaze users. ### Bucket Privacy Choose one of the following: - **Private** – Only users and applications with proper credentials can access the files. This is recommended for most business and personal use cases. - **Public** – Anyone with the file URL can access the files. ### Default Encryption You can choose to: - Disable encryption - Enable Backblaze-managed server-side encryption (SSE-B2) Encryption protects data stored within your bucket. ### Object Lock Object Lock helps protect files from accidental or intentional deletion for a specified period. If you don't require immutable storage, you can leave this disabled. Once you've configured the settings, click **Create a Bucket**. Your bucket is now ready for use. ## Create an Application Key After creating your bucket, you'll need to generate an **Application Key**. This key allows third-party applications, including All Cloud Hub, to securely access your Backblaze bucket without requiring your Backblaze account password. To create an application key: 1. In Backblaze B2, open **Application Keys** from the left navigation menu. 2. Click **Add a New Application Key**. 3. Give the key a recognizable name. 4. Select the bucket you want the key to access. 5. Grant the required capabilities: - Read - Write - Delete 6. Create the key. Backblaze will display: - **Key ID** - **Application Key** Copy both values immediately and store them somewhere safe. > ***Important:** Backblaze only displays the **Application Key once**. If you close the page without copying it, you'll need to create another key.* > ## Understanding the Key ID and Application Key Backblaze B2 uses two credentials for authentication. #### Key ID The **Key ID** identifies which application key is being used to access your bucket. Think of it as a username for your application credentials. #### Application Key The **Application Key** acts as the password associated with the Key ID. It authorizes applications like All Cloud Hub to securely perform actions within your bucket based on the permissions you assigned. Because this key grants access to your storage, it should always be kept private. ## What Is the Master Application Key? When you create a Backblaze B2 account, Backblaze automatically generates a **Master Application Key**. The Master Application Key has access to **every bucket** in your Backblaze account and includes all available capabilities. While it is useful for administrative tasks, it is generally **not recommended** for everyday integrations with third-party applications. Instead, create a dedicated application key that: - Is limited to a specific bucket - Includes only the permissions required - Follows the principle of least privilege Using bucket-specific application keys provides better security and makes it easier to revoke access without affecting other applications. ## Connect Backblaze B2 to All Cloud Hub Once you have your **Key ID** and **Application Key**, you're ready to connect your Backblaze B2 storage. ### Step 1: Open Connect Account 1. Sign in to your All Cloud Hub account. 2. Click **Connect Account**. 3. Select **Backblaze B2** from the list of supported cloud storage providers, and enter the **Alias** name. The connection window will open. ### Step 2: Enter Your Credentials In the connection window: 1. Enter your **Key ID**. 2. Enter your **Application Key**. 3. Click **Next**. All Cloud Hub will securely validate the credentials
How to Connect Backblaze B2 to All Cloud Hub

Learn how to connect Backblaze B2 to All Cloud Hub using an Application Key to manage and transfer files easily.
How to Connect Google Photos to All Cloud Hub

Connect Google Photos to All Cloud Hub to browse, search, and manage photos from one dashboard.
How to Connect pCloud to All Cloud Hub

Learn how to connect pCloud to All Cloud Hub for easy multi-cloud file management in just a few steps.
How to Connect MEGA to All Cloud Hub

Connect your MEGA account to All Cloud Hub and manage files across multiple cloud storage accounts with ease.
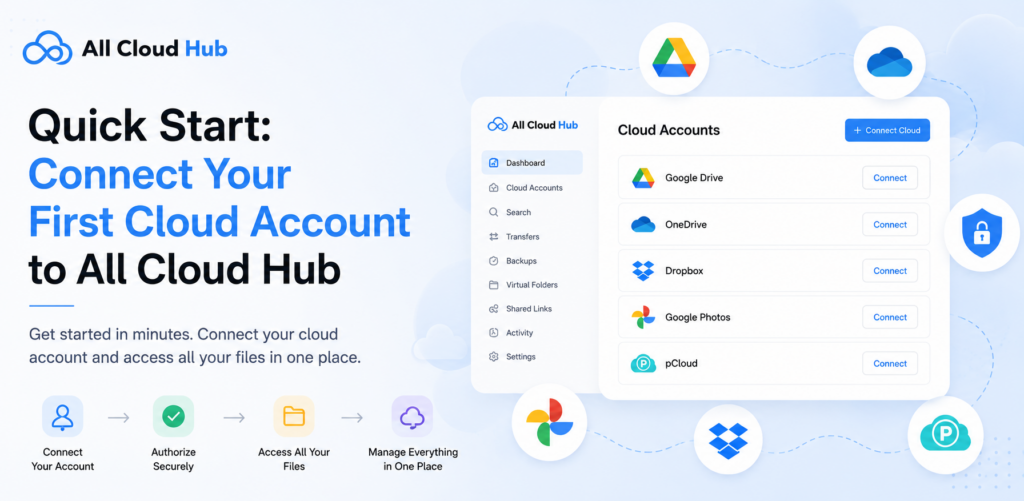
Connect Your First Cloud Account to All Cloud Hub
Quick Start: Connect Your First Cloud Account to All Cloud Hub

Learn how to create your All Cloud Hub account and connect your first cloud storage service in just a few...
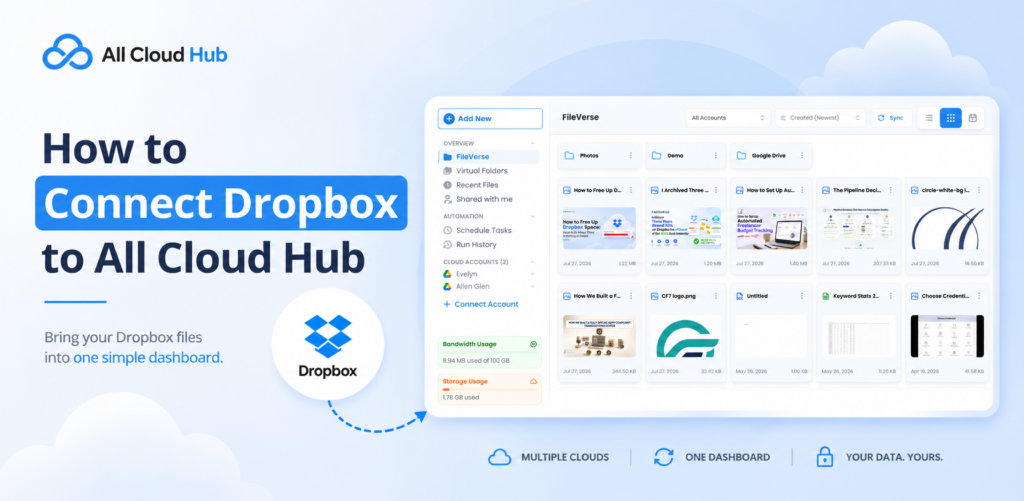
How to Connect Dropbox to All Cloud Hub

Learn how to set up Dropbox integration with All Cloud Hub. Step-by-step guide to connect, authorize, manage, transfer, and sync...
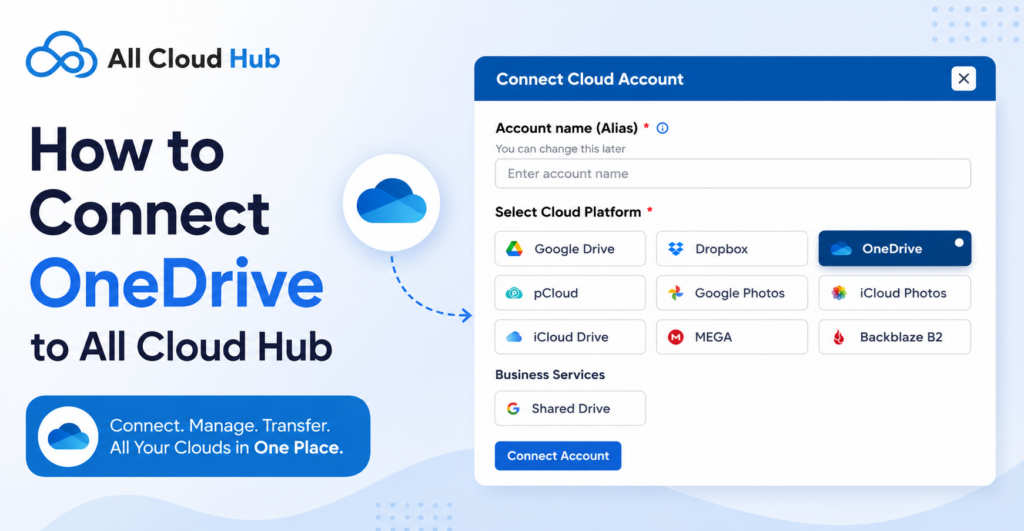
How to Connect OneDrive to All Cloud Hub

Learn how to connect OneDrive to All Cloud Hub. Step-by-step guide for secure OneDrive integration, permissions, syncing, and file management.
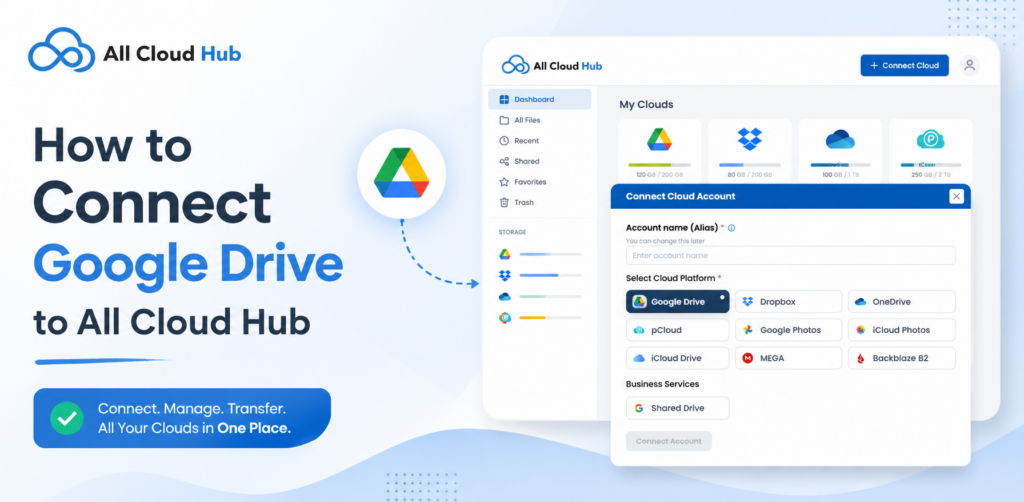
How to Connect Google Drive to All Cloud Hub

Set up Google Drive integration with All Cloud Hub to view, search, organize, and transfer files from one unified dashboard.

Play Store
App Store